13 Textures
Graphics textures are used heavily in video games and computer visualization technology. Let’s try and gain a deeper understanding of how textures are used in SensorCraft. Copy tutorial 00_flat_world.py to a new file with the following command, replacing TVR with your initials:
cp 00_flat_world.py 13_textures_TVR.py
Texture File
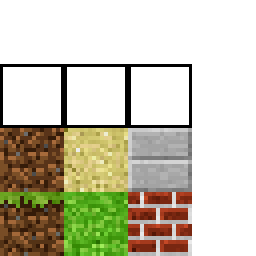
Recall the explanation from chapter 02 3D Coordinate System about the pyglet library and how three dimensional objects are wrapped with a two dimensional image to create different textures and appearances of blocks. To define the different textures of blocks, you first need to have a file that has the textures for each part of the block. Find the file called “custom_texture.png” and open it. You will see some of the textures we used before for grass, sand, brick, etc, but we’ve added three new blocks that you can use to make your own textures for the blocks.
Close the image and open it again in an image editor. Windows comes with a
program called paint, mac has paintbrush, and for Ubuntu Linux systems you
can open a terminal and run the command sudo apt-get install gimp to
install a program called Gimp. The newly added blocks are the three white
blocks with a black outline. Now you can draw on these three new blocks and
create a new type of block.
Using the Texture
Once the design is too your liking, save the file and close it. Now open
13_textures_TVR.py and jump down to line 76. This is where we define the
variable TEXTURE_PATH. This tells the program what file contains the
textures we want to use. We want the variable TEXTURE_PATH to be set to
the name of the new file where you created new blocks in the section above.
TEXTURE_PATH = 'custom_texture.png'
Now we need to define a texture using the new block(s) you designed. To define
a texture, you make a call to tex_coords to define where in the file to
look for the textures. Look at the already existing examples just below the
line defining TEXTURE_PATH.
GRASS = tex_coords((1, 0), (0, 1), (0, 0))
SAND = tex_coords((1, 1), (1, 1), (1, 1))
BRICK = tex_coords((2, 0), (2, 0), (2, 0))
STONE = tex_coords((2, 1), (2, 1), (2, 1))
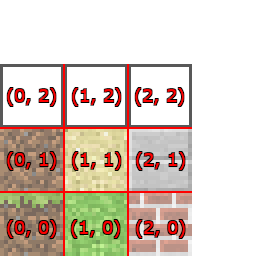
The basic form of a call to tex_coords is as follows:
TEXTURE_NAME = tex_coords((top), (bottom), (side))
Where top, bottom, and side are coordinates for in the file for
what texture should go on the top, bottom, and sides of the block. The grid for
the textures and their coordinates is shown below:
Now you need to define your custom texture. Do this by adding a line below the
previously defined textures and making a call to tex_coords with the
correct coordinates in their correct place in the call. For example, if I
wanted (0,2) to be the top, (1,2) the bottom, and (2,2) for the sides, the
call would be as follows:
CUSTOM = tex_coords((0, 2), (1, 2), (2, 2))
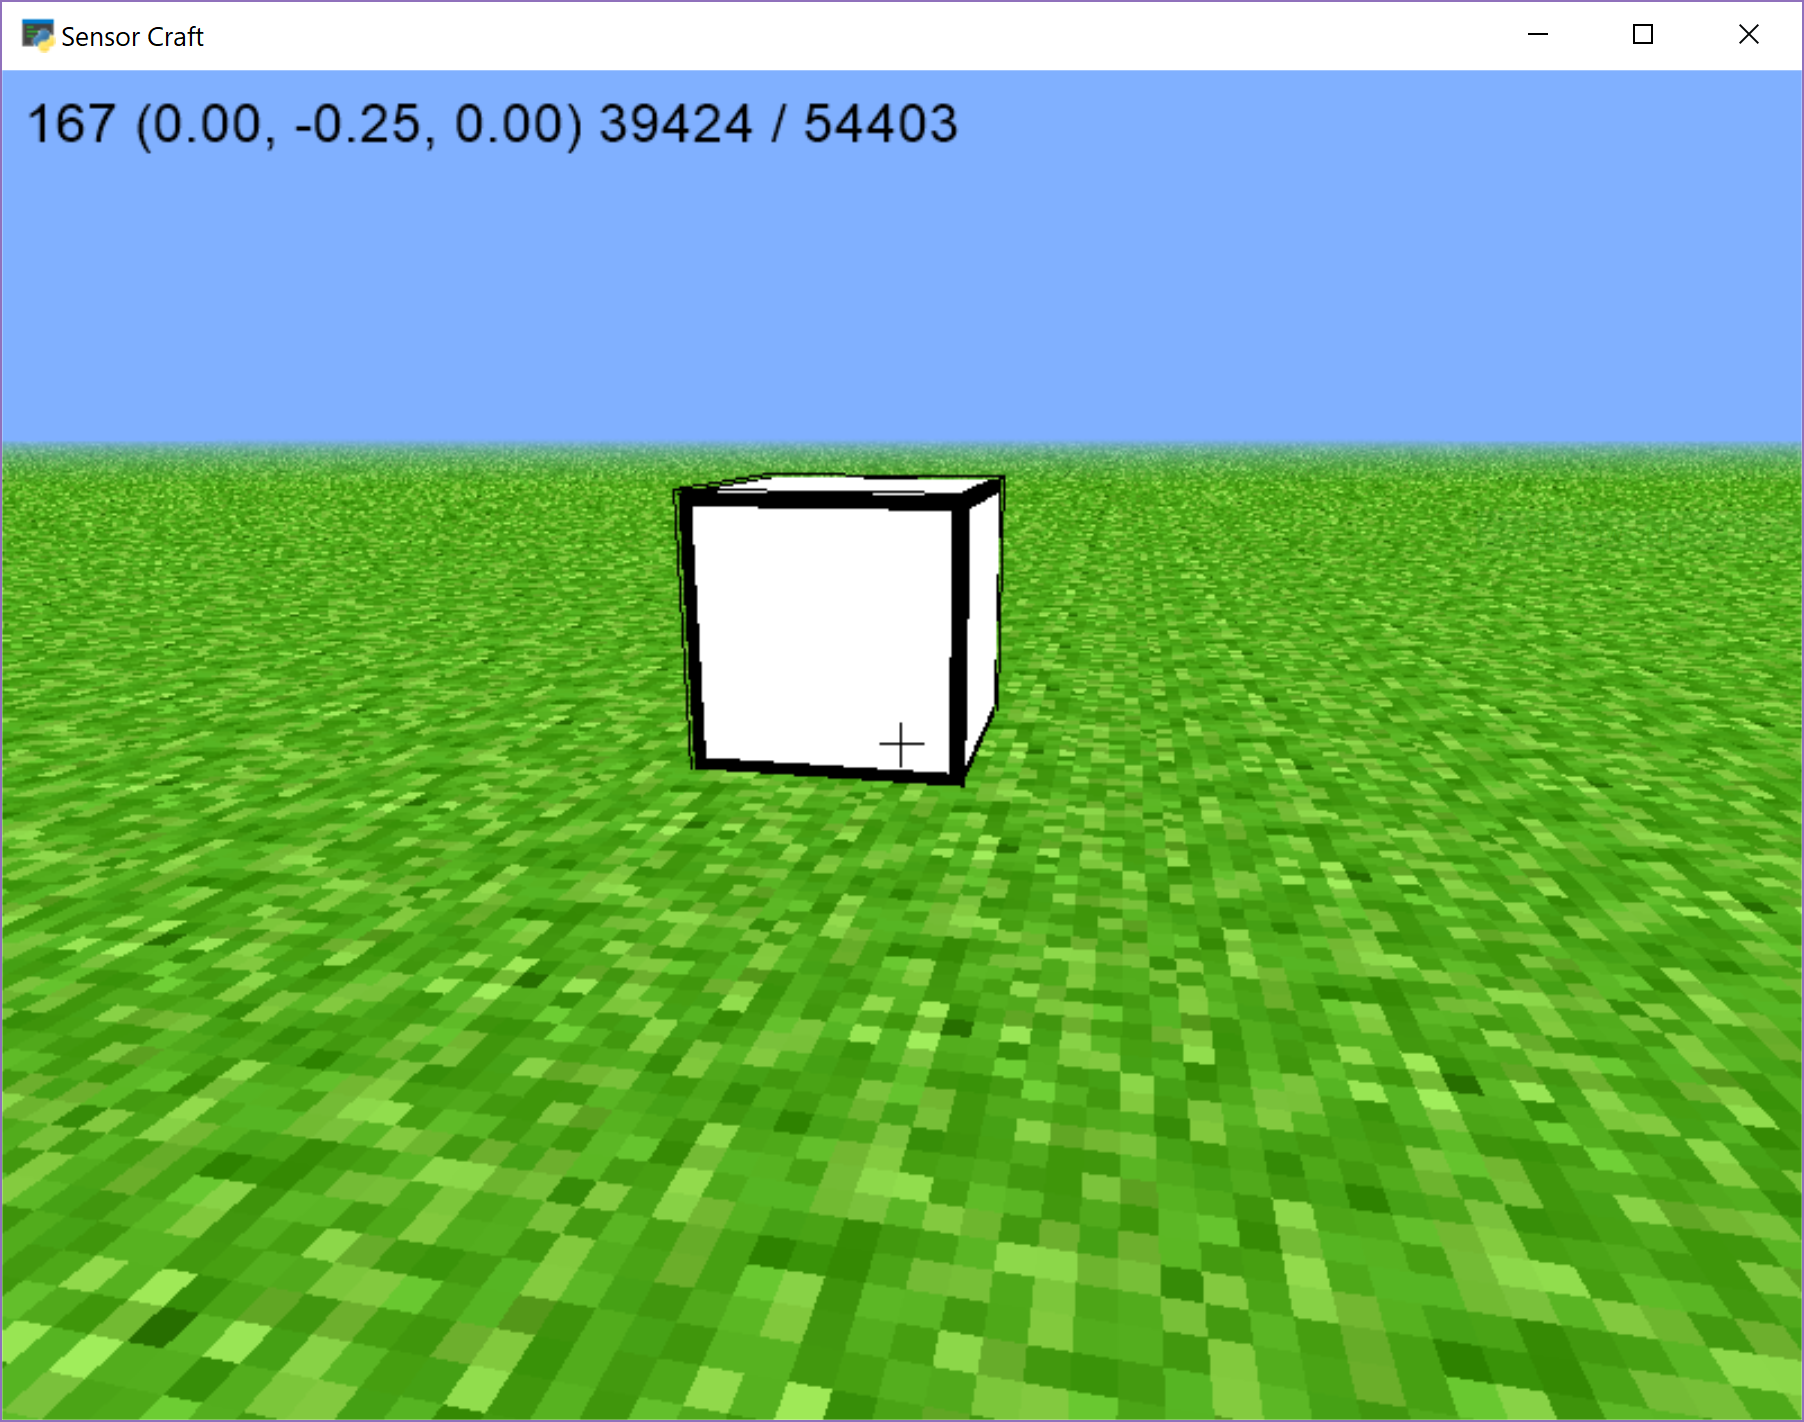
Building Your Custom Block
Now let’s test that your block builds as expected. Find the function called
on_mouse_press. We want to change the call to add_block in this
function so that when you click the mouse you build a block with your new
texture. Calls to add_block take two arguments: position, and texture (in
that order). So we need to change the texture parameter to be your custom
block. Change line 663 to read as follows:
self.model.add_block(previous, CUSTOM)
Now when you run the code and try to build a block, it will be your custom designed block.